If your worrying about what to wear on a hen party, then you’ve got to start with the sash. Usually worn by the bride-to-be, it helps separate her from the rest of the group and lets anyone else – aka strangers – know that the party has arrived! Especially important on a pub or bar crawl.
The sash is not only reminiscent of the old-fashioned tradition but of beauty pageants in America. It’s a way of saying ‘hey, look at me! I’m getting married and I don’t care who knows it!’ You go girl.
As a fashion statement sashes come in many forms and sizes and often depends on what type of hen and wedding you have. If you make a sash yourself, you can perfectly personalise it to your needs. Sure, you could buy a sash from a shop but is that what you really want? Do you want to look like every other hen?
We suggest you have a go making your own. Don’t worry if you don’t know how, we have put together this useful guide in how to make your own.

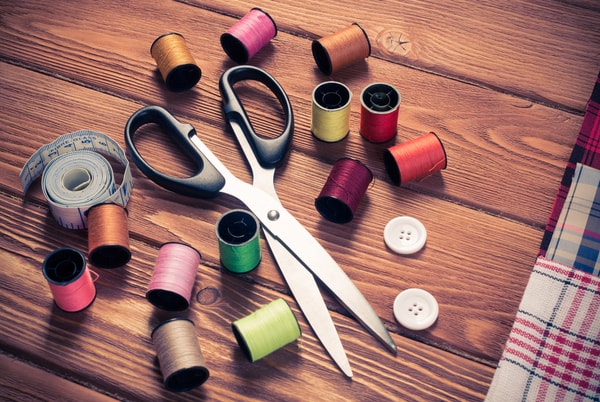
What You Need
Here is what you will need to make your own:
- Two metres of 3” wide ribbon
- Iron on letters
- Colour matching thread
- Iron Sewing machine
- Ruler Scissors Pins
Step by Step Guide

First take your ribbon and fold it in half. Make sure it is perfectly aligned before pinning the fabric in place. Measure and mark 1.5” down one side of the ribbon.
Then draw a diagonal line to the top of the creased corner. Sew along this line to create a join and then cut away the excess material. You should be left with a neat diagonal join that will sit nicely on a shoulder.
Then draw a diagonal line to the top of the creased corner. Sew along this line to create a join and then cut away the excess material. You should be left with a neat diagonal join that will sit nicely on a shoulder.
Get your personalised iron on letters. These are super easy to use but if you have a great drawing hand feel free to attempt calligraphy with paint or a marker. For the rest of us non-Picasso’s we could either get a drawing lesson or in this case, iron-on-letters will do. Follow the manufacturers instruction, it will be super easy and give the sash a professional finish.
Drape the sash over your shoulder to size it and see where it should naturally connect at the bottom. Pin where the two sides of ribbon join. Draw a perpendicular line that joins where the two side of ribbon meet. Sew along this line and once again cut away the excess material.
What Style Should You Choose

If you think you can make it but are struggling for ideas on how to design the perfect one for your group, here are a few suggestions of the type of sash you could make.
- Floral sashes are great for a group looking for a more country feel or are having their hen do in the great outdoors.
- Black with gold lettering is a classy choice for a hen desperate to avoid the pink clichés and who will be having her party in more exclusive establishments.
- The hen has to be a centre of attention so just using a bright colour that you know will contrast with her clothes is a great option to make sure she gets noticed by everyone.
- If you can find the right material, a ribbon with Polka Dots emanates a vintage and retro vibe.
- If the girls like to dress like they’re from the 40’s and 50’s then a polka dot sash will go along with that style. Pink! Pink! Pink!
- The classic sash is bright pink with massive lettering. This is for those traditionalists out there who know no fear in going out and telling the world it’s about to go down with a hen party!
Extra Tips
If you want to give you sash a touch of individuality get some tassel trim from an art store and sew that around the edges.
If you feel up to it and can make a sash for every hen, then you can give your group a sense of uniform. Make sure you make the brides a different colour from the rest. She must stand out after all.
When you have finished pack it up nicely into a parcel box so that you can give it to the bride as a gift and the rest of the girls can watch the big unveiling!
Personalise the words on the sash to make it that more individual. Use the brides nickname or maybe writer her husband’s surname on the sash! Getting a sash is a must-have if you're on a Brighton hen do.


